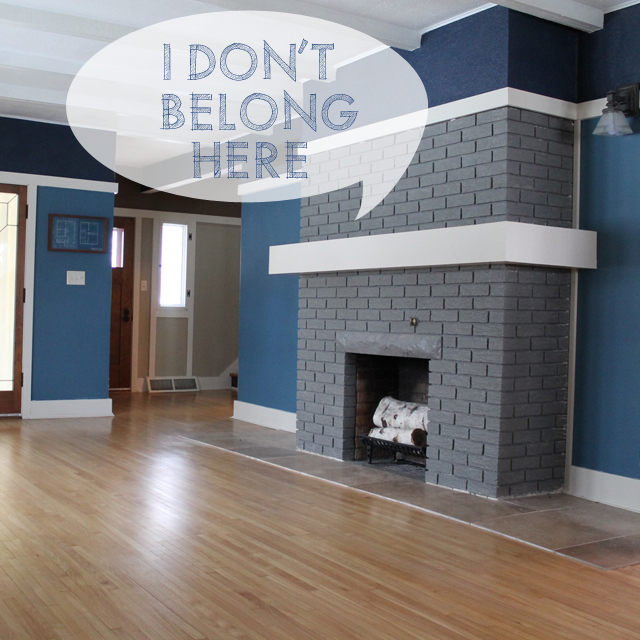
We’ve had an ongoing debate for the past year about what we should do with the fireplace. The bricks had been painted white some 30+ years ago and then the most recent owners painted the fireplace a glossy dark gray. We knew we didn’t want the gray but we weren’t sure whether we wanted to tackle the monumental task of stripping the fireplace either.
Finally one evening, in a stab at decisiveness, I grabbed a can of white paint and a brush. “I’m just going to paint the fireplace white,” I told The Mister. “And then we can decide what we want to do later.”
I painted two whole bricks before I reconsidered what I was doing. If we’re going to do this, we may as well do it right. I wiped off the wet paint, grabbed a bottle of Citri-Strip
and, well, now there’s no turning back.

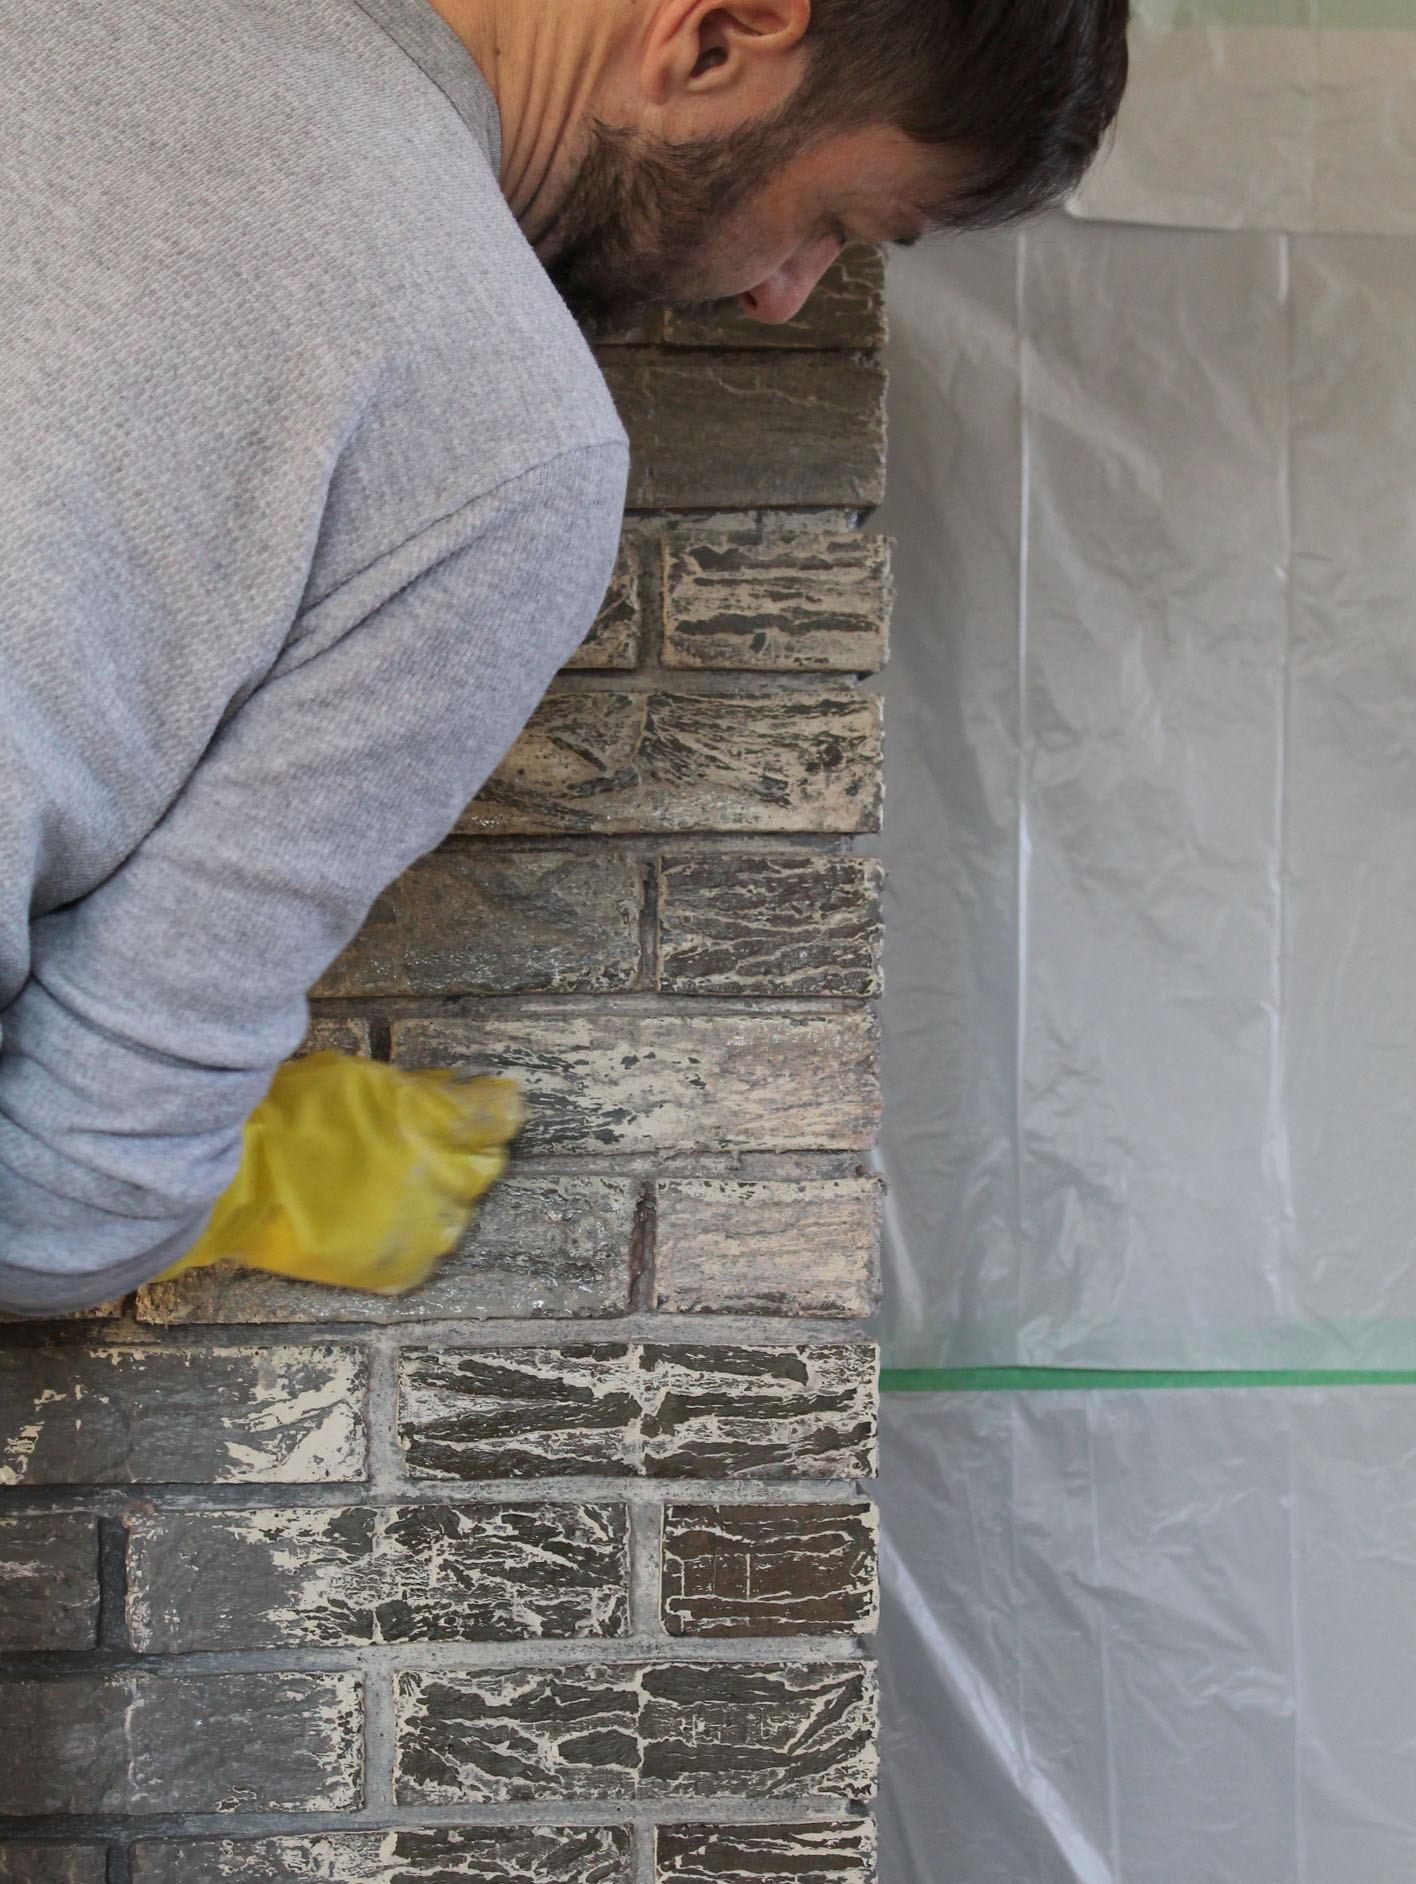
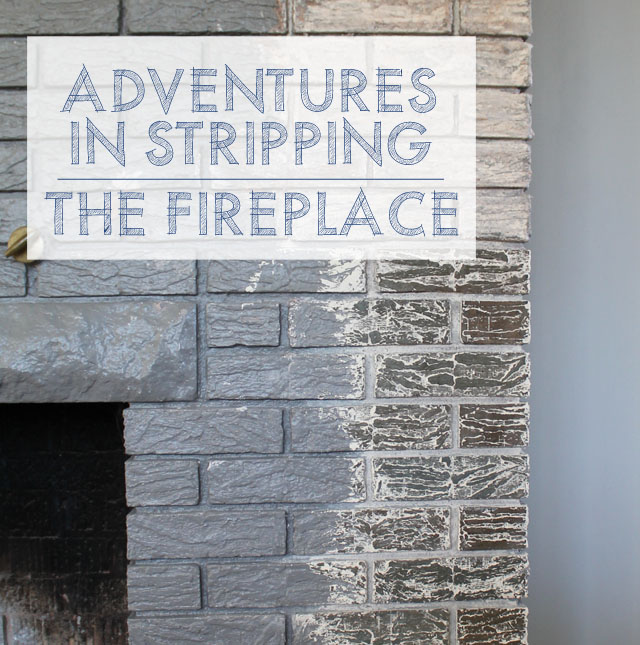
At first, the project was going really well. The small section where we first applied the stripper was looking incredible. The dark gray paint peeled away quickly and with some scrubbing and brushing and lots and lots of stripper, the white paint washed away to reveal beautiful bricks. The bricks are not the dark red that we were expected but where instead shades of gray and blue and brown.
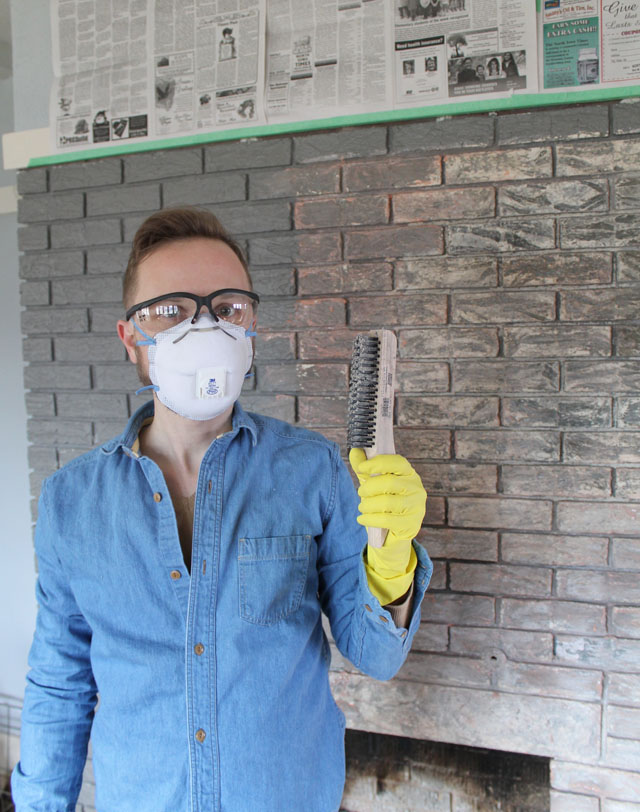
Buoyed by the success of the first few bricks, we decided to forge on. And so on New Years Eve, while others were donning party hats and festive attire, we were dressed in grubby clothes and rubber gloves. We taped garbage bags to the walls and floor and proceeded to cover the entire front of the fireplace with stripper. And that, as it turns out, was not a very good idea.
You see, stripping a small section of a dozen or so bricks seems completely doable. Scrubbing the entire surface of a fireplace over a twelve hour period seems like some sort of torture.
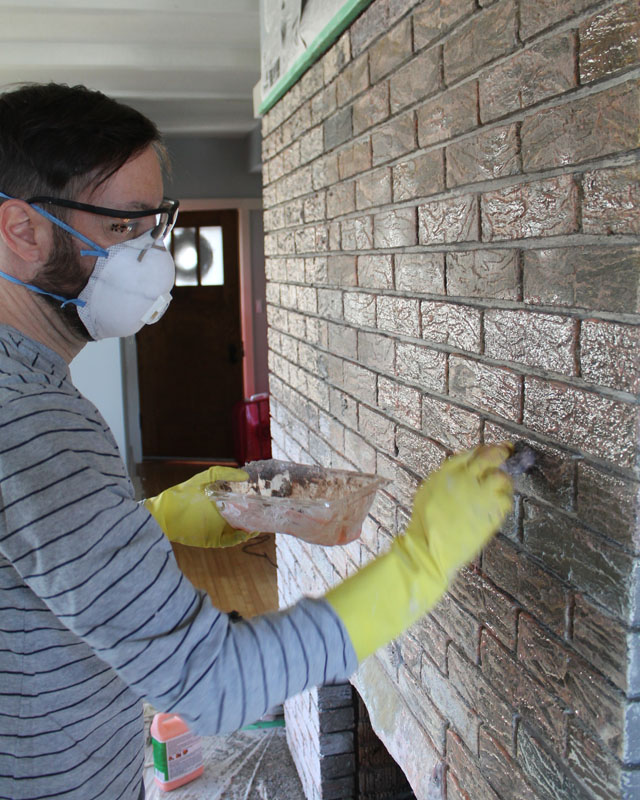
Still, it was great seeing the progress as we went along. Slowly (ever so slowly) the gray and white paint would chip away and we would expose more and more beautiful old bricks. But oh the mess that it created! Even with the plastic bags lining the floor, we still ended up tracking little bits of paint and stripper all around the house.
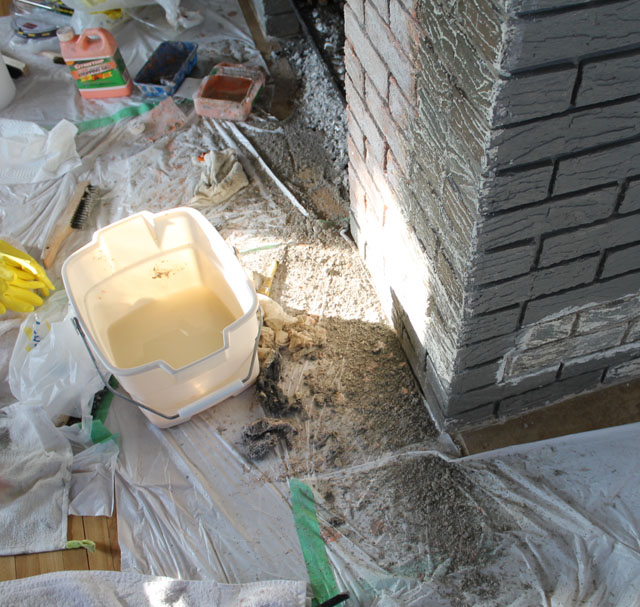
At one point we had four wire brushes, a half dozen steel wool pads, two buckets of water, a pile of wet and dry rags and a few sponges at work. Here’s a little overview of our process.
Step 1: Use a steel wool pad to apply a layer of citri-strip to the brick. Let it stand for about an hour.
Step 2: Use another steel wood pad to apply another layer of citri-strip. This would essentially wipe away the gray paint, which would reveal the white paint. By applying another layer of stripper, we were hoping to make removal of the white paint a little easier.
Step 3: After letting the second layer of stripper sit for a few hours, we used wire brushes of various sizes to scrape away remaining paint. Talk about labor intensive! And oh the mess!
Step 4: Wash the brick with clean water.
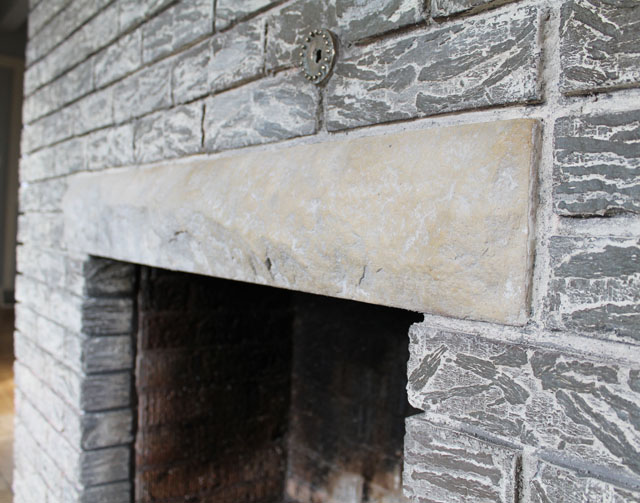
Every hour or so we would stand back and admire our work. And by admire I mean we would question our sanity and try to give ourselves pep talks about the progress we were making. But, truly, we were making progress, even if it did feel like it was at a snail’s pace.
By 10PM on New Years Eve, we had worked on the front of the entire fireplace for more than twelve hours. Some parts of it looked amazing while others obviously required more work. Sometimes you have to know when to say when, however, so we cleaned up our mess and decided we’d come back to it another day.
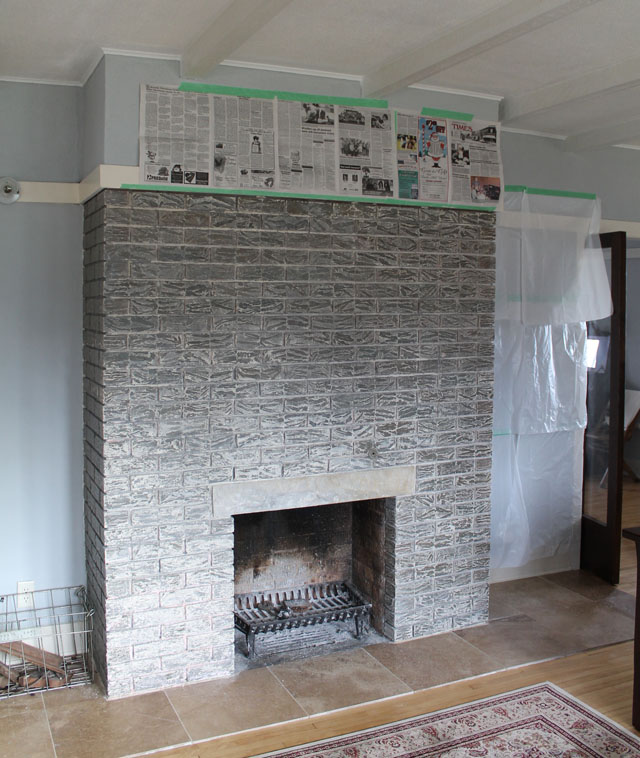 The funny thing about all of this is that when you stand back, it’s kind of hard to tell that we did anything at all! I doubt that the previous owners had any inkling about the brick color when they decided to paint the fireplace dark gray. And yet their choice of color has made it difficult to discern what has been painted and what has been stripped. When you get really close to the fireplace you can definitely see the difference.
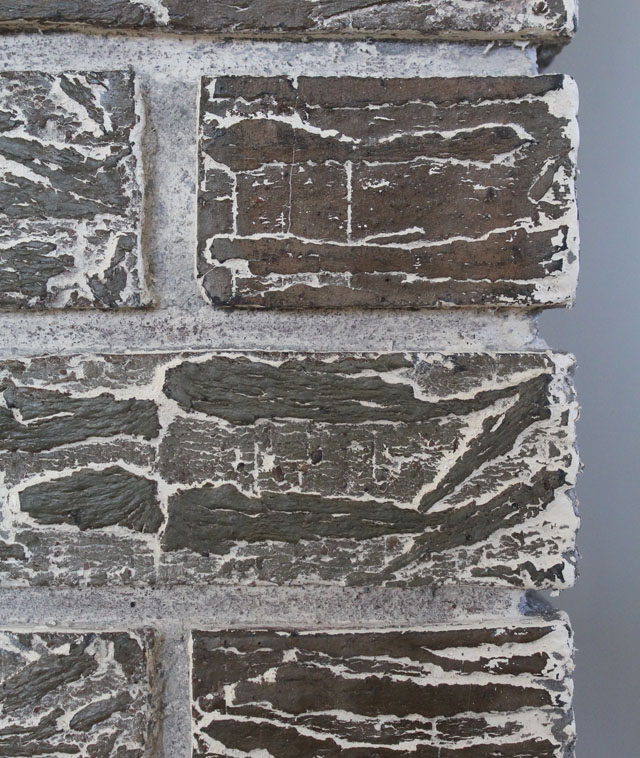 We still have a lot of work ahead of us. We’ll need to do another pass with stripper and wire brushes on the front of the fireplace. I actually quite like the white paint that clings to the crevices of the bricks. I think it gives the fireplace a weathered look. If we can get the entire surface to look like the bricks pictured above, we’ll feel like it’s been a success.
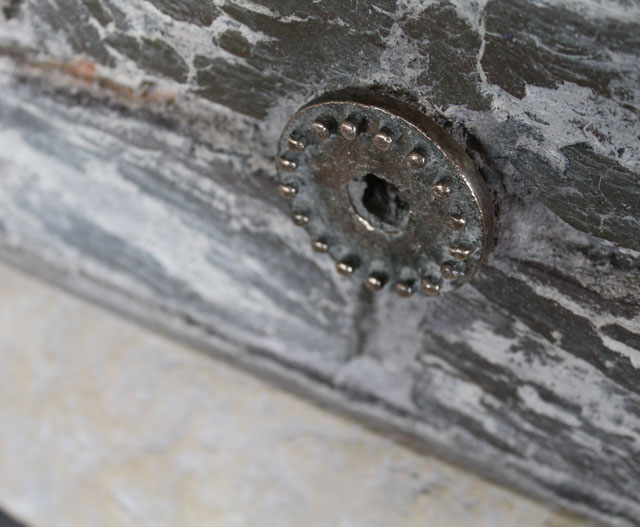
Of course, we haven’t even started on the bricks on both sides of the fireplace. For now, I think we’re happy to pretend that magic elves will come do that part for us.
Are we crazy for having started this job? Yes, I’m sure we are. Are we happy with the outcome? Yes, I think we are. So, really, it’s all worth it in the end.
Images: This American House